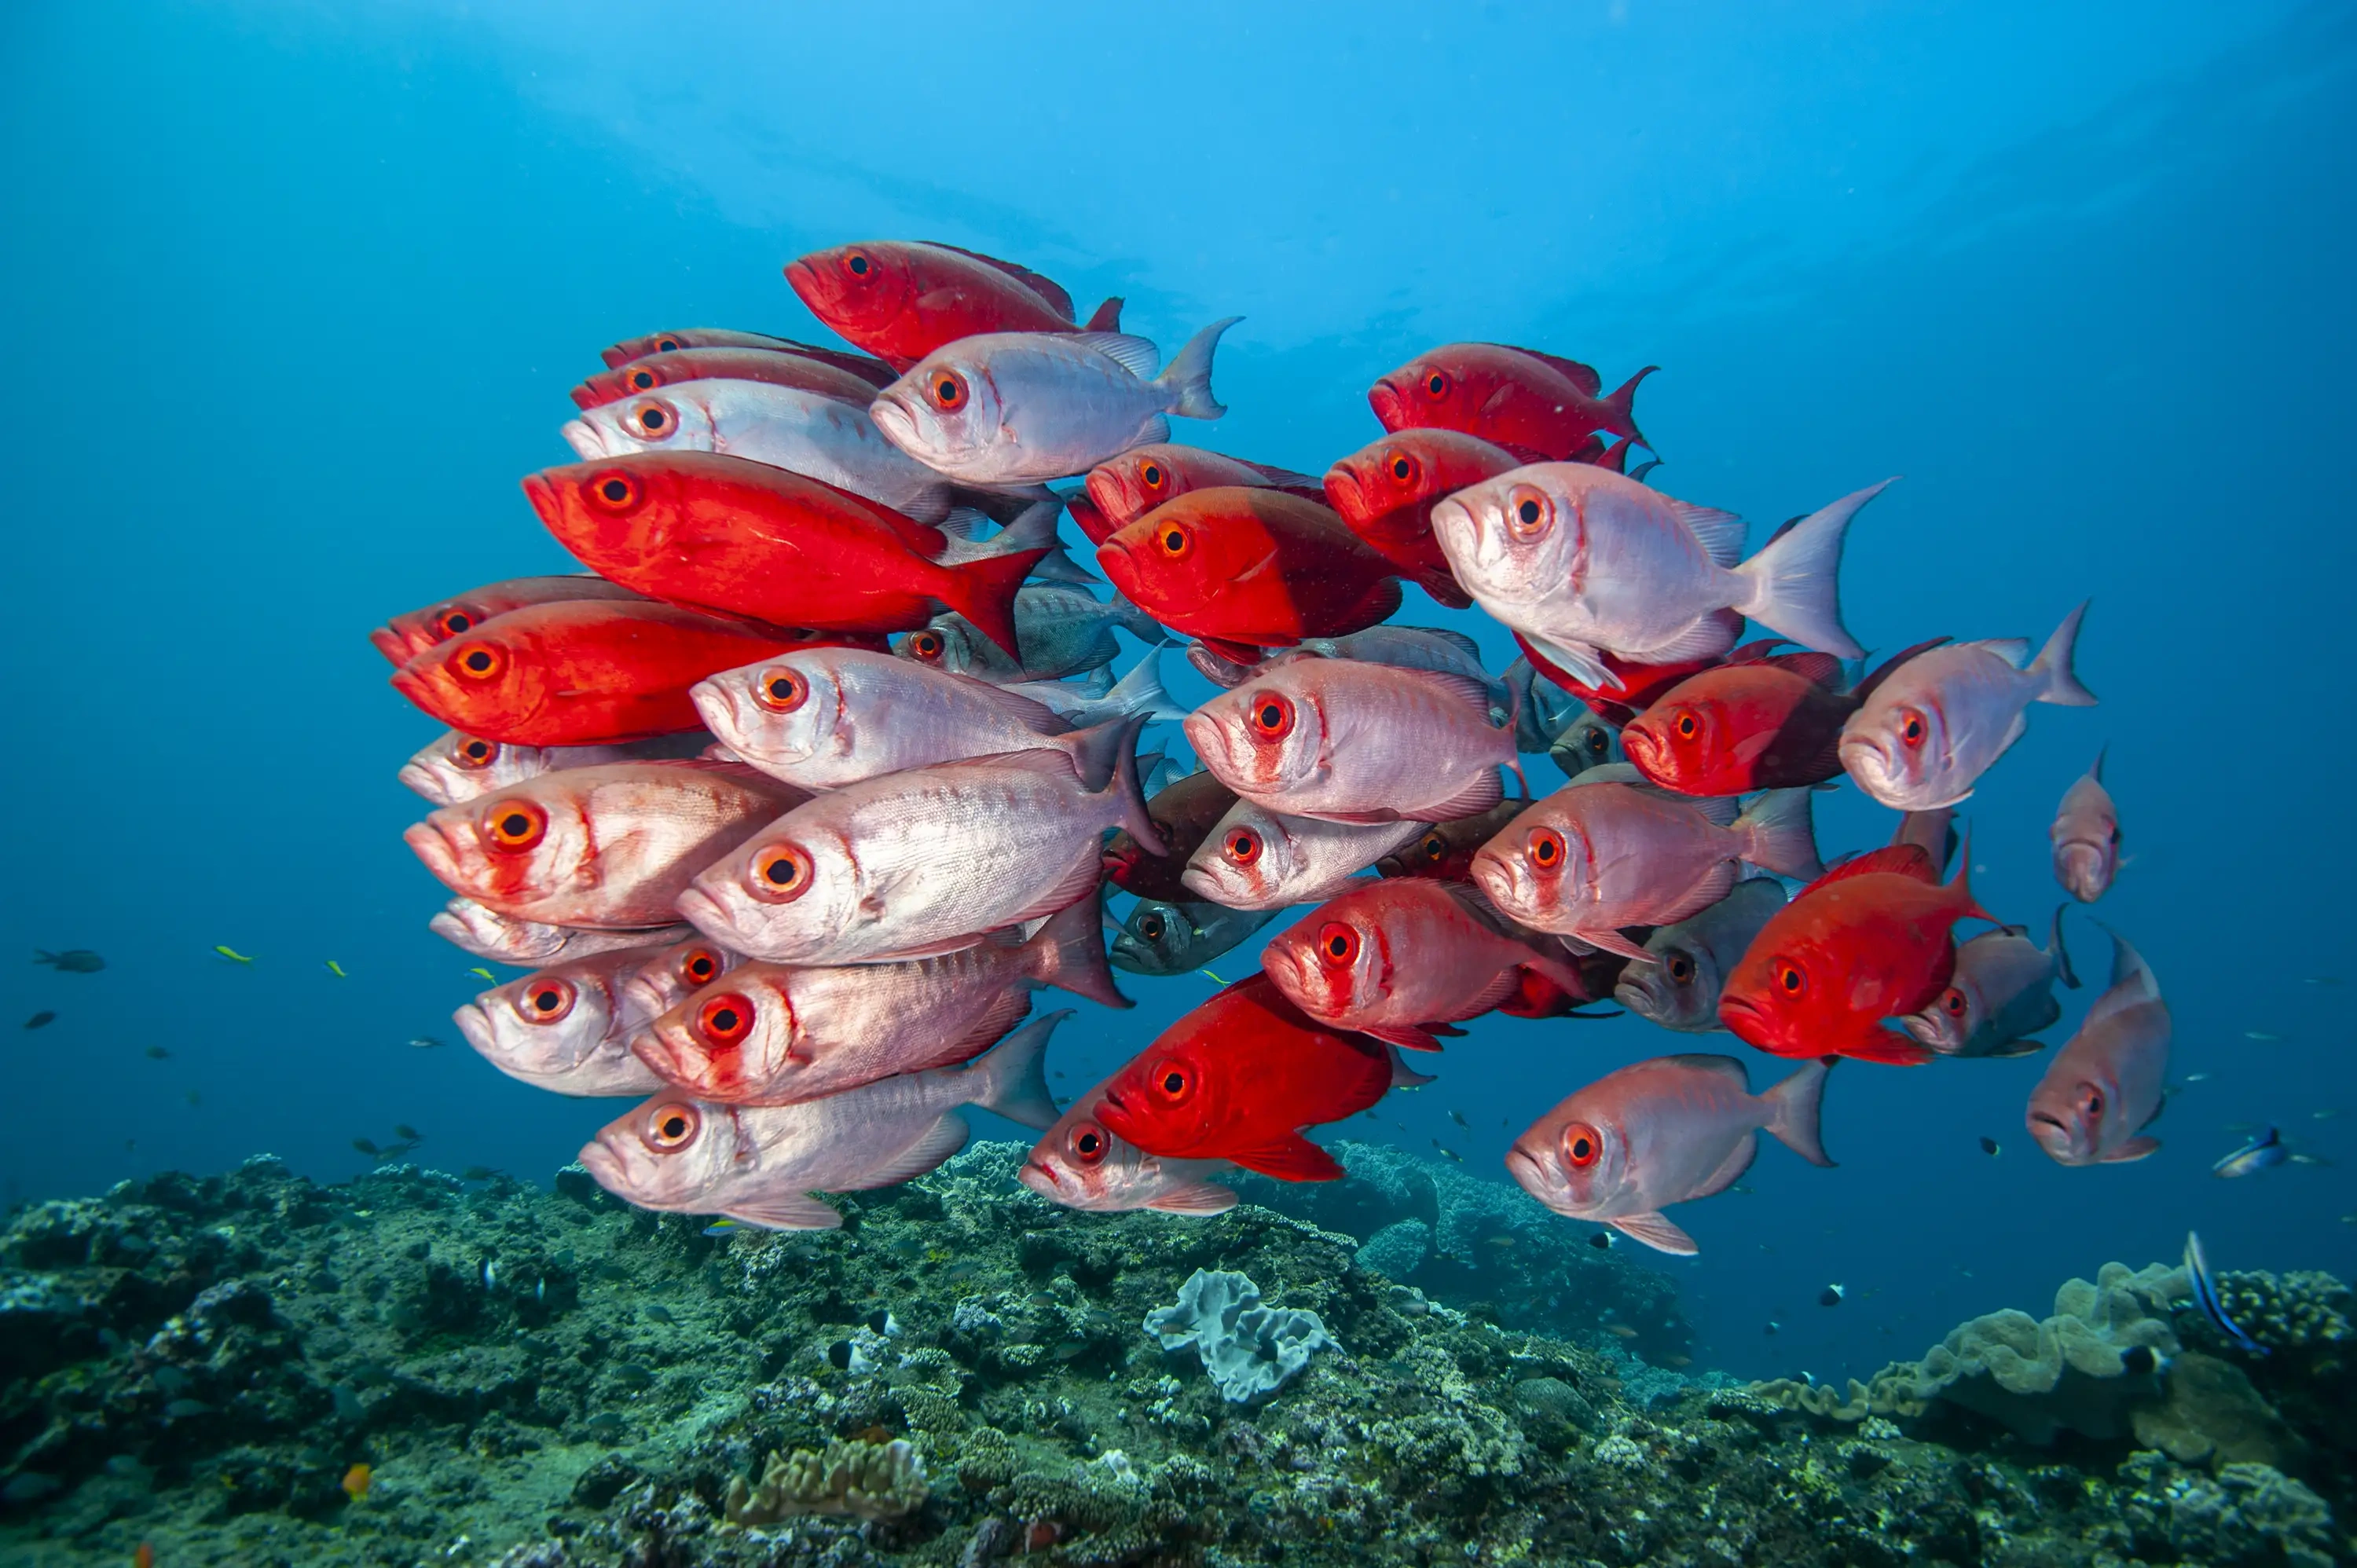
3. Schools of fish

For many reasons, schools of fish belong to my favourite underwater photography motifs. The fish together form an organised unit, a constantly shape-changing, pulsing creature, which behaves differently from the behaviour of each individual. It provides photographer with endless number of shapes and faces. The interaction between the photographer and big number of animals is somewhat unique. Finally, the colouring of the fish often display pleasing contrast to the blue water. The vibrant yellow of sweetlips or saturated red of big-eye snappers provide for perfect complement colouring to shades of blues.

My tips to go around well:

1. Observe and investigate first: When you spot a school of fish which might suit your photography preference, stop and observe its behaviour. What are they doing? Are they moving somewhere? Are they feeding, are they relaxing? Are they hiding from the sun? The better you observe and understand its behaviour, the easier approaching the school without scaring it away would be. After the school has been checked closely, certainly an idea how to frame it into a photograph will arise. So will the way to approach and interact with your object. 

2. Plan you shot and prepare your gear: Visualise your frame. Set the camera and strobes on the assumed values (f stop, shutter speed, strobes power) and while still keeping the distance from the school, make a probationary shot pointing the camera the same direction as you will be pointing it when framing the actual fish. Check your image on the screen and focus on the colour of the background. Does it look the way you want? Do the blues have the right pleasing tones? If not, now it is the time to adjust the camera settings according the desired result. 

Go for 1/100s or faster (1/125s my recommendation to start with) if you want to freeze the movement, go for the slower shutters if you want to experiment with motion blur. Preferably stay above F8 on crop factor cameras, respectively stop the aperture down to F 9-10 on full frame. The closer you get to the school, the higher the F stop needs to be to keep all individuals sharp. Finalise the exposure with the matching ISO value. Don’t be afraid to pop up the ISO on hi-end DSLRs significantly. I would typically start with ISO 200 on a bright sunny day, while ISO 400 would be the starting point on the morning dive, reaching as high as ISO 800-1000 in order to get a pleasing saturated blue background. The strobe power is the last to be adjusted.

3. Strobes positioning and power setting: I am not a fan of long strobe arms and positioning them far from the dome port. I would typically place the strobes 0,5m away from the lens centre and always above, creating an isosceles triangle (strobe-lens-strobe) when framing horizontally. Set both to equal power. Start with 2/3 of the power and adjust afterwards in order to expose fish bodies properly without burning out their white or silver bellies. For a vertical frame I place one strobe above and one below in the straight line with the lens. The trick for the vertical frame: set the strobe below to the 1/2 power value of the one placed up.  

4. Catch the moment: There is three important K.O. factors that will effect the final result. As it is in most of animal photography, the eye contact is critical. Obviously when framing more animals together we have more eyes to deal with. The more eyes staring at you the more intense your shot will be. Secondly, look at the frame homogeneity. The more fish bodies moving the same direction, the more harmony the image demonstrates. Finally, the more fish mass you capture the more intense the effect is. Translated: you need the fish to stay packed together as close as possible, preferably with no blue water gaps in-between.

5. Move gently: Now it is the time to show how good diver you are and how long you can hold your breath. Breathe gently and move generously in order to capture the harmony. Sometimes I inhale and hold the breath while swimming and shooting as long as I can. Before exhaling I back off in order to avoid blowing bubbles into fish faces.  

Nikon D3 

Seacam Housing, 8”dome port

Sigma 15 mm FE f/2.8 

2 x INON Z240 @full power

Settings: f/8, 1/125s, ISO 160

Location: Sodwana Bay, South Africa

April 2013